PCB Etching tutorial
DIY PCB Toner Transfer Etching using Laser Printer
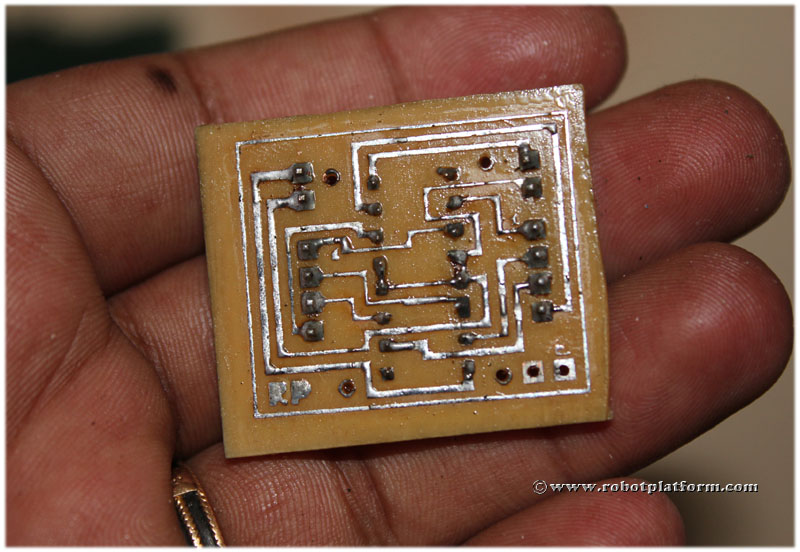 If you are seriously into electronics and robotics, then there is always a feel to ditch soldering and build your own professionally looking circuit board. Etching is a technique used to quickly make professional looking PCB’s with limited resources. This technique is excellent for both through-hole components and surface mount devices, and the copper tracks can be as thin as 8mil to 10mil.
The tutorial provides detailed step by step instructions to make your own printed circuit board using toner transfer method. Click on any images for higher resolution.
If you are seriously into electronics and robotics, then there is always a feel to ditch soldering and build your own professionally looking circuit board. Etching is a technique used to quickly make professional looking PCB’s with limited resources. This technique is excellent for both through-hole components and surface mount devices, and the copper tracks can be as thin as 8mil to 10mil.
The tutorial provides detailed step by step instructions to make your own printed circuit board using toner transfer method. Click on any images for higher resolution.
A video tutorial is available in the last section. However, I would suggest you to read the entire tutorial and watch the video as the video skips a few instructions.
Caution: This Etching process uses Hydrochloric acid which can be hazardous if handled carelessly. Take necessary precautions. Wear gloves, goggles, nose mask, and etch the board in open and ventilated space as the gas generated might be harmful. Once etching process is complete, store the mixture in a safe place so that it can be reused. If you need to dispose it, follow your local hazardous waste disposal rules.
Parts required
- Laser Printer: Laser printer uses toner which is a mixture of carbon and polymer. This powder melts on heat and then used to print on paper. Since it is polymer based, is resistant to etching solution and thus preserves the copper underneath. Do not use inkjet printer for this technique as they are mostly useless. Make sure your Laser printer handles thick and glossy paper (most of them I know does)
- Glossy paper: Glossy photo quality paper can be used for etching. I have always succeeded in using glossy magazine sheets which are cheap and widely available. Just make sure that the sheet is glossy and thick
- Copper PCB: This is the board with copper over it. Single sided and double sided copper boards are available and here a single sided board is used
- Fine Sand paper / Scrubber: Before transferring toner onto the board, it is necessary to clean the surface from grease, oil and oxide. A fine sand paper or a kitchen scrubber would suffice.
- Muriatic Acid / Hydrochloric Acid (HCL): Commonly known as pool acid, muriatic acid is available in most hardware stores which is 30% to 35% concentrated. Be cautious as HCL is highly corrosive and a strong mineral acid.
- Hydrogen Peroxide (H2O2): H2O2 is a colorless liquid which is more thick and viscous than water which is generally used as a bleach agent. It is normally available in most pharmacies at 3% to 5% concentrations and used for hair bleach and mouth wash. On direct contact, they create temporary whitening on the skin
- Thinner / Acetone: Thinner, Acetone, Nail polish remover, deodorant etc. Any of these can be used to remove toner from the copper board once etching completes.
- Plastic container (preferably with lid): The solution (etchant) should always be stored in a plastic container. The etchant can corrode most of those metallic containers. Since you can reuse this solution, a container with a lid is preferable.
- Cloth Iron: You may have used it to remove those wrinkles from your cloths. This tutorial makes a better use of it
- Hacksaw: I normally prefer purchasing an oversized board and cut it to the appropriate size and reuse the rest. Boards are made of a soft insulating material (substrate) which can be easily cut off to the required size using a hacksaw. But don’t try cutting curves and other odd shapes with a hacksaw; you may end up breaking your board.
- Electronic or Hand driller: Once the etching process is complete, you may want to drill holes to mount the components. If you are using SMD components, driller may not be required.
- Fine Drill bit: Drill bits are attached to a driller to create cylindrical holes. I use 1mm drill bit for connectors and 0.5 or 0.75mm drill bit for IC’s. Smaller bits have a tendency to break and hence handle them with care
- Circuit diagram (Schematic): Ofcourse you need a circuit diagram which can be etched. I generally use Proteus for circuit design although Eagle software has more support from the hobbyist community. You can also find many readymade circuit diagrams online.
PCB Etching and building a circuit board
PCB etching is fast and the results are considerable. If you have all the materials in hand, then the complete circuit takes less than 5-6 hours. Etching and building a circuit board can be vaguely divided into following sections
Tutorial index:
Do you have anything to say?
Visit the Forum to discuss, learn and share anything related to robotics and electronics !!


